> ## Documentation Index
> Fetch the complete documentation index at: https://developer.qaip.com/docs/llms.txt
> Use this file to discover all available pages before exploring further.
# ドキュメント横断検索
> QAIPを活用することでGitHub・Google DocsといったサービスからPowerPoint・PDFなどあらゆるドキュメントを横断的に検索し、必要な情報を迅速に見つけ出すことができます。
## 目的
エンジニアにとってドキュメントは知識の宝庫です。しかし、膨大なドキュメントの中から必要な情報を見つけ出すのは容易ではありません。
QAIPを活用することで、複数のソースを横断的に検索し、必要な情報を素早く入手できます。さらに、参照元を辿ることで関連情報にもアクセス可能です。
このユースケースではあらゆるデータソースに散らばったドキュメントや資料を横断検索する方法をご説明します。
さらにstreamlitを使ったチャットボットアプリの作成方法もご紹介します。
## データの取り込み
### GitHubのMarkdown
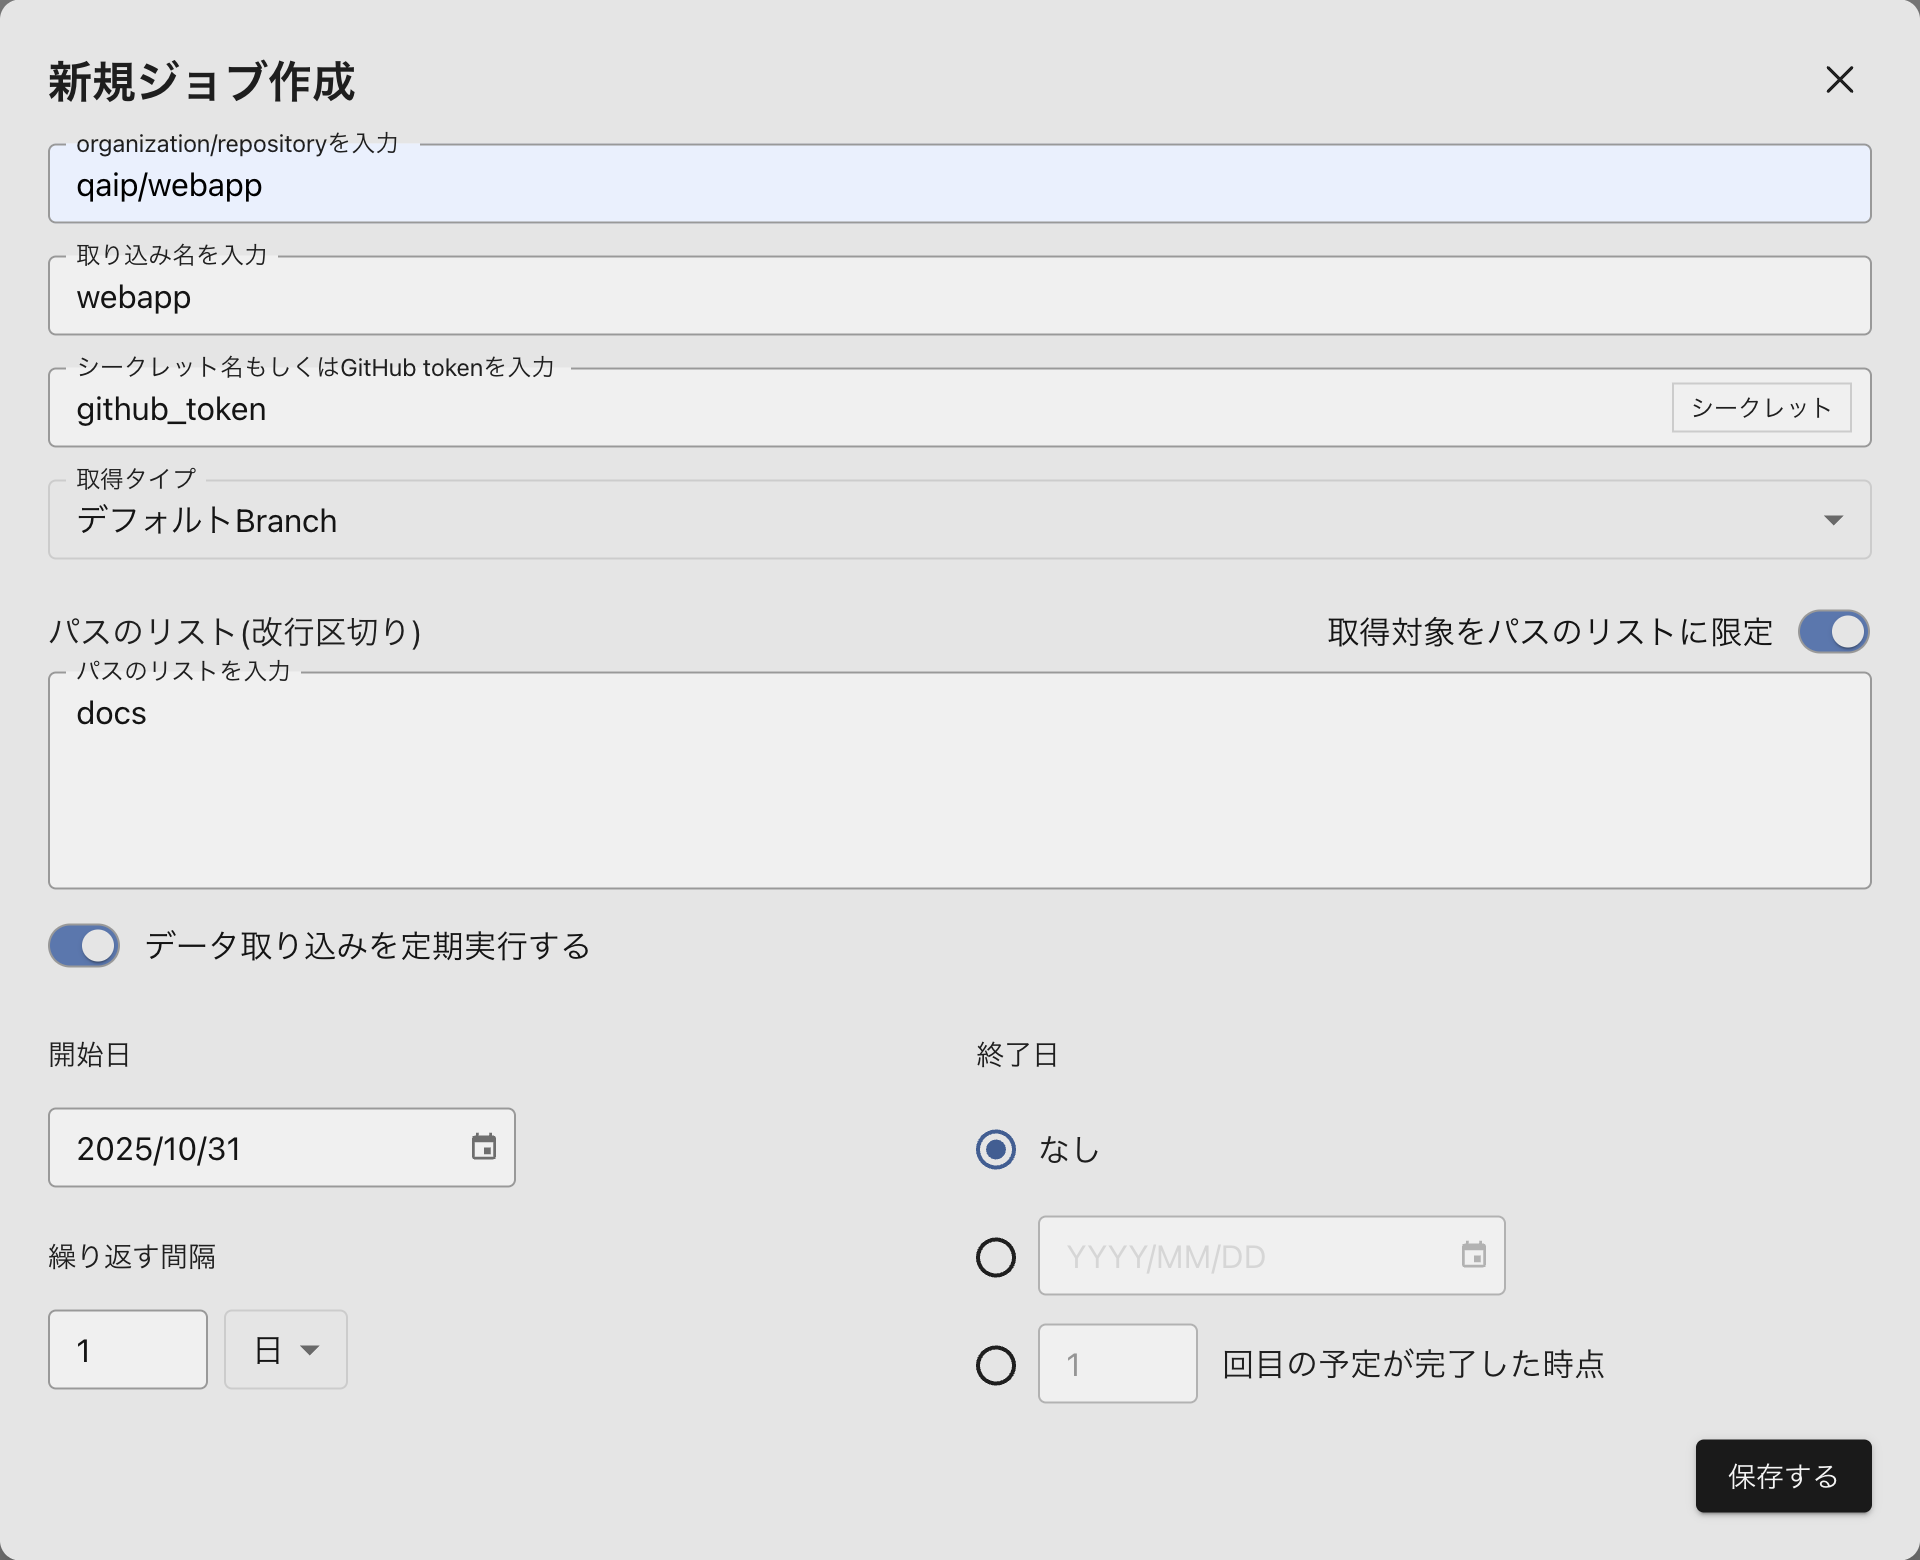
GitHubのMarkdownを取り込みます。定期実行によって常に最新の状態を保ちます。
詳しい手順は[こちら](/docs/datasources/github)をご参照ください。
入力例:
 ### Googleドライブのファイル
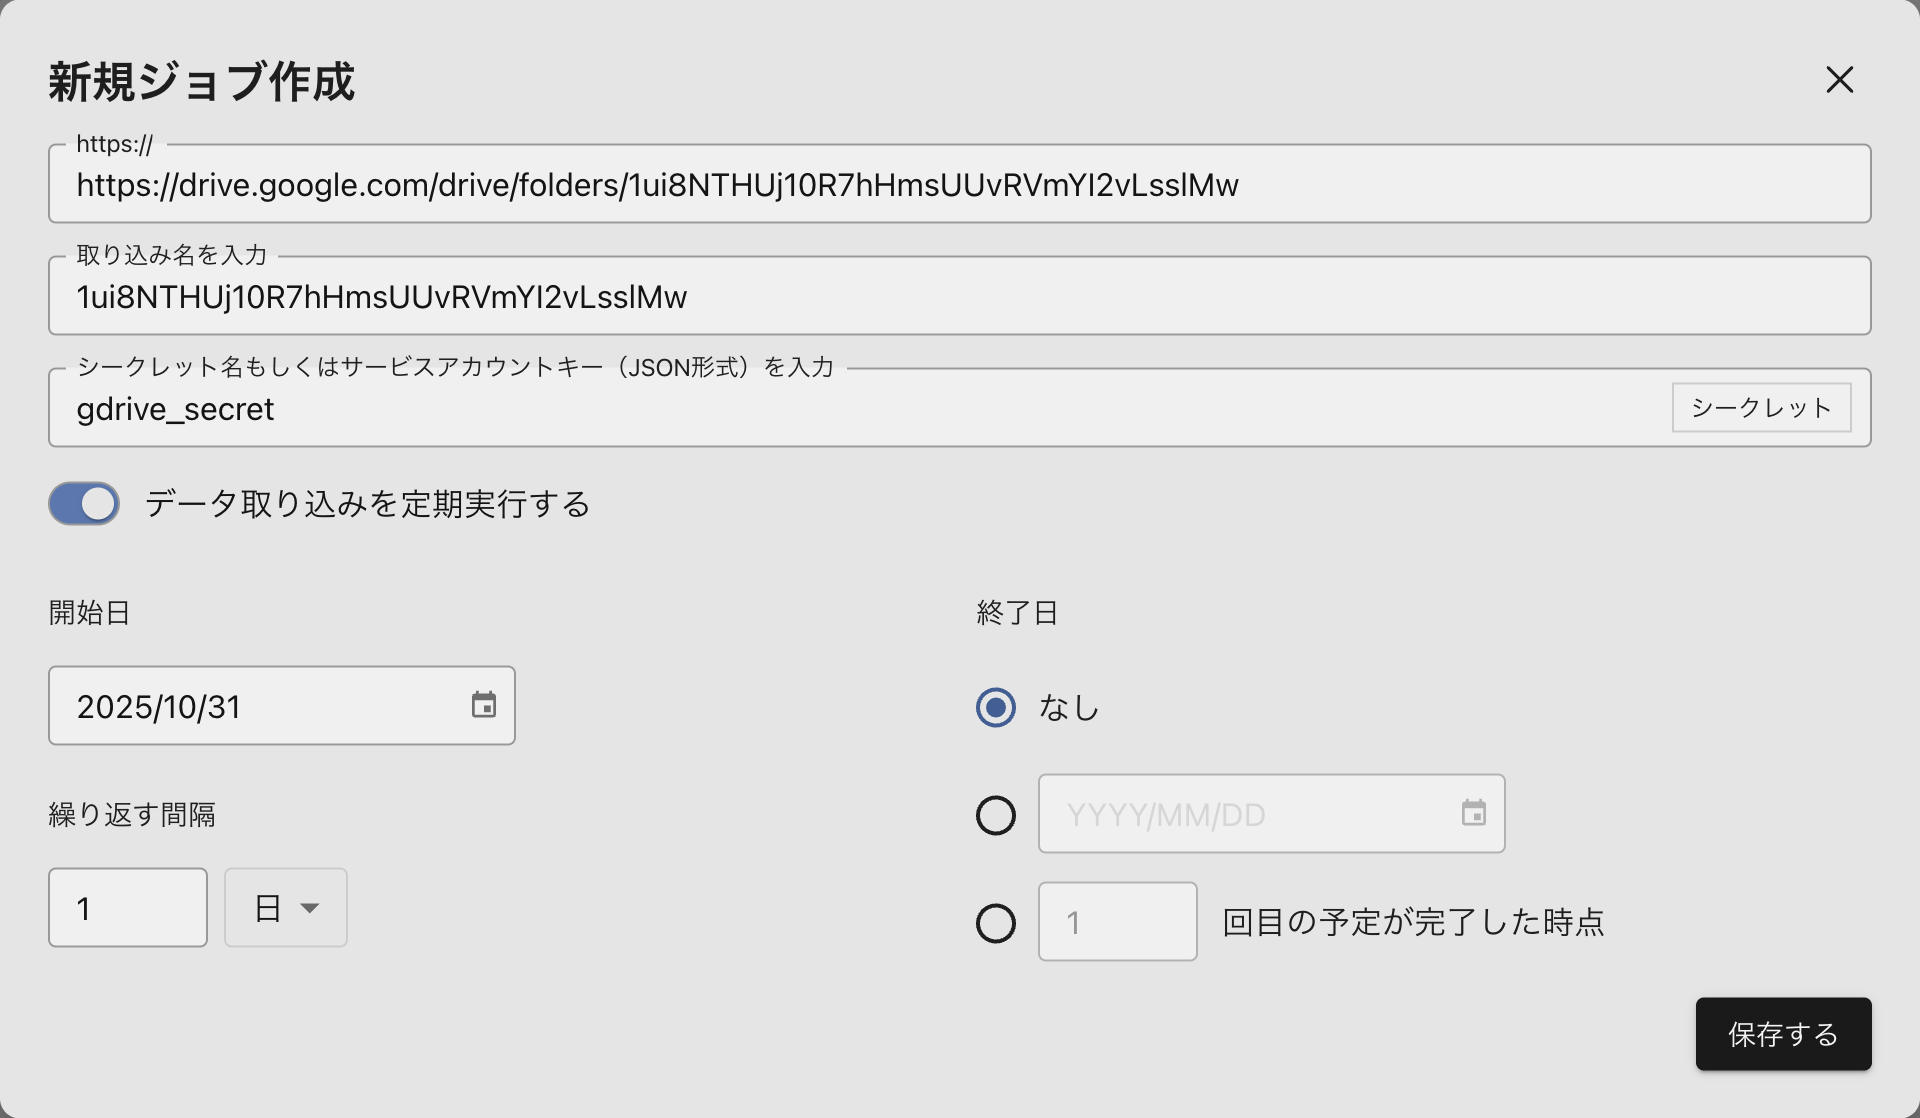
Googleドライブの仕様書や顧客向けの説明資料を取り込みます。
### Googleドライブのファイル
Googleドライブの仕様書や顧客向けの説明資料を取り込みます。
詳しい手順は[こちら](/docs/datasources/google-drive)をご参照ください。
入力例:
 ### ローカルファイル
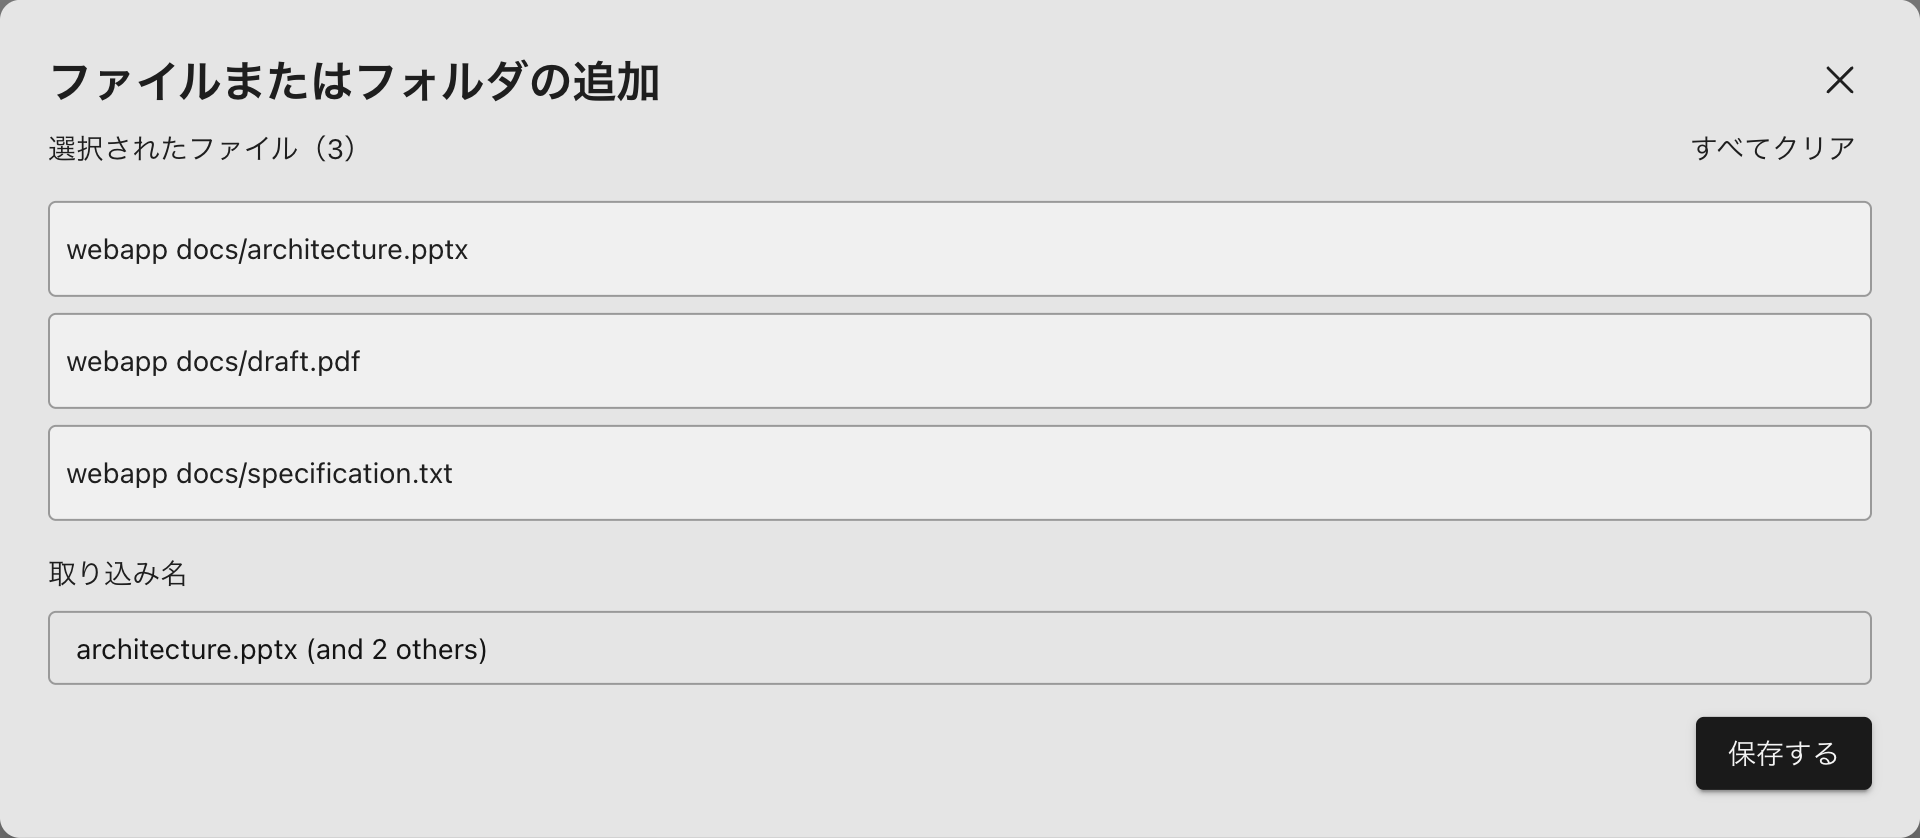
ローカルファイルをアップロードして取り込みます。契約書やマニュアルなどのPDFを取り込みます。こちらは定期実行に対応していません。頻繁に更新がある場合はGoogleドライブに保存することをお勧めします。
### ローカルファイル
ローカルファイルをアップロードして取り込みます。契約書やマニュアルなどのPDFを取り込みます。こちらは定期実行に対応していません。頻繁に更新がある場合はGoogleドライブに保存することをお勧めします。
詳しくは[こちら](/docs/datasources/file)をご参照ください。
入力例:
 ## タグの付与
タグを付与することで特定のドキュメントに関連する質問に絞って回答を得ることができます。
## タグの付与
タグを付与することで特定のドキュメントに関連する質問に絞って回答を得ることができます。
ここではタグ名 `documentation`、説明に `アプリ開発のドキュメントと仕様等に関連する資料群` と設定します。
詳しい手順は[こちら](/docs/features/tags)をご参照ください。
## チャットボットアプリの作成
Python SDKからQAIPにアクセスするためのAPIキーを発行します。
詳しくは[こちら](/docs/features/apikey)をご参照ください。
```bash theme={null}
mkdir qaip-chatbot
cd qaip-chatbot
pip install streamlit
pip install qaip
```
以下のコードを`chatbot.py`として保存
```python title="chatbot.py" theme={null}
import os
import streamlit as st
from qaip import Qaip
st.set_page_config(page_title="QAIP Chatbot", page_icon="🤖", layout="wide")
st.title("🤖 QAIP Chatbot")
st.markdown("Chat with an AI assistant powered by QAIP")
if "messages" not in st.session_state:
st.session_state.messages = []
if "qaip_client" not in st.session_state:
api_key = os.getenv("QAIP_API_KEY", "your-api-key-here")
st.session_state.qaip_client = Qaip(
api_key=api_key,
base_url="https://developer.qaip.com/api/v1",
)
with st.sidebar:
st.header("Settings")
api_key_input = st.text_input(
"API Key",
type="password",
value=os.getenv("QAIP_API_KEY", ""),
help="Enter your QAIP API key",
)
if api_key_input:
st.session_state.qaip_client = Qaip(
api_key=api_key_input,
base_url="https://developer.qaip.com/api/v1",
)
if st.button("Clear Chat History", type="secondary"):
st.session_state.messages = []
st.rerun()
for message in st.session_state.messages:
with st.chat_message(message["role"]):
st.markdown(message["content"])
if prompt := st.chat_input("What would you like to know?"):
st.session_state.messages.append({"role": "user", "content": prompt})
with st.chat_message("user"):
st.markdown(prompt)
with st.chat_message("assistant"):
message_placeholder = st.empty()
full_response = ""
try:
with st.spinner("Thinking..."):
response = st.session_state.qaip_client.completion(
messages=st.session_state.messages,
citation=True,
tags=["documentation"],
)
if hasattr(response, "choices") and response.choices:
full_response = response.choices[0].message.content
elif hasattr(response, "content"):
full_response = response.content
elif hasattr(response, "text"):
full_response = response.text
else:
full_response = str(response)
message_placeholder.markdown(full_response)
except Exception as e:
error_msg = f"Error: {str(e)}"
message_placeholder.error(error_msg)
full_response = error_msg
st.session_state.messages.append(
{"role": "assistant", "content": full_response}
)
if not st.session_state.messages:
st.info("👋 Welcome! Start a conversation by typing a message below.")
```
下記のコマンドでアプリを起動します。
事前に`QAIP_API_KEY`環境変数にAPIキーを設定しておくか、サイドバーの入力欄にAPIキーを入力してください。
```bash theme={null}
export QAIP_API_KEY='your-api-key-here'
streamlit run chatbot.py
```
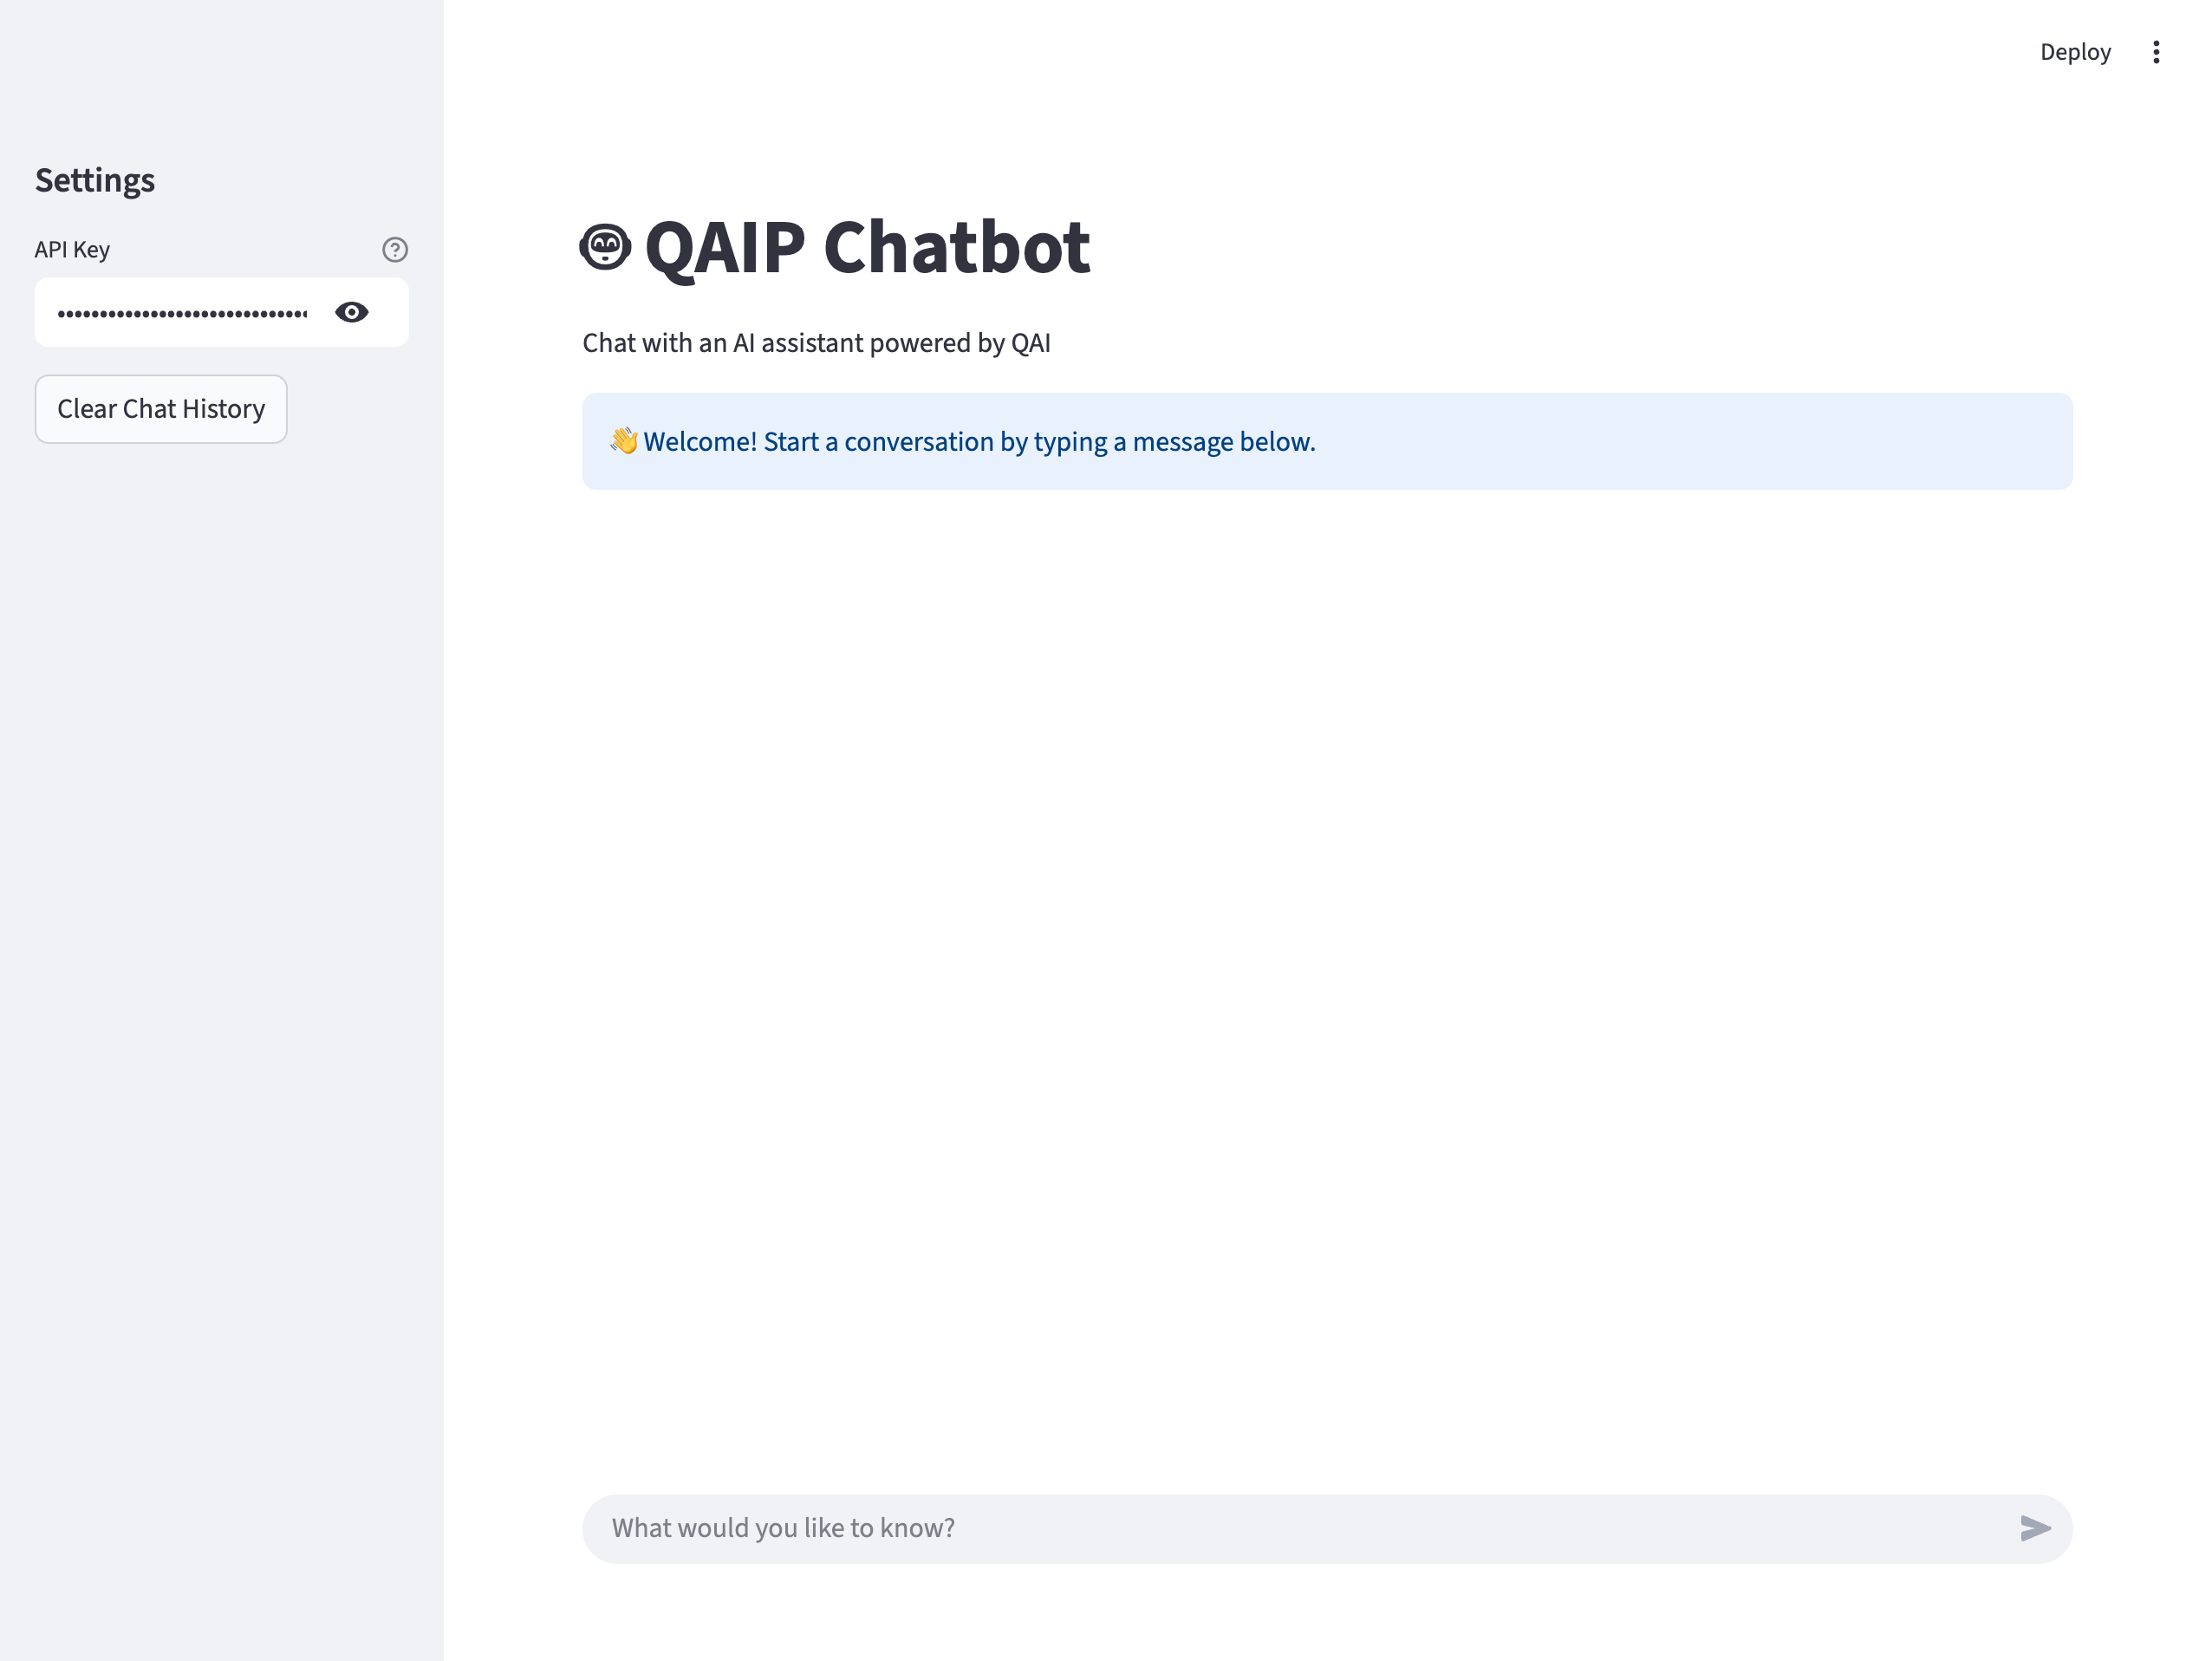 実際にメッセージを打ち込んで回答が返ってきたら成功です🎉